Guide: Using multiple Models in one VOX File
\_ made by @Christof

Introduction
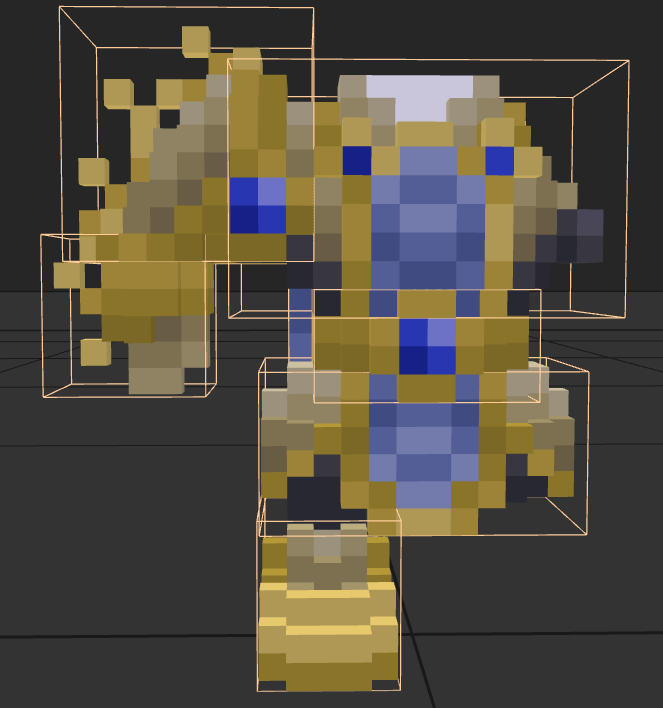
This chapter assumes that you have read the chapter on adding armor and guides you how to keep all pieces of one armor set inside a single VOX file. Using this, it is more easy to see and edit related models in one MagicaVoxel instance.
Combining models from multiple files
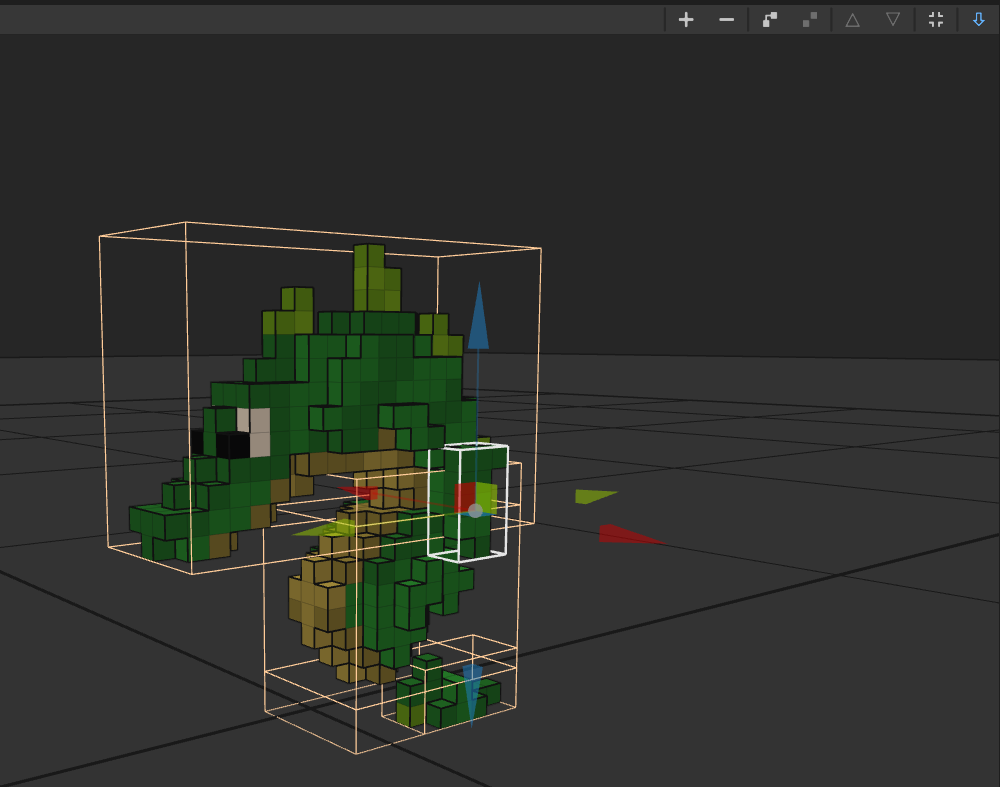
The branch symbol in the outline panel opens the menu to work on multiple models. The plus symbol creates new ones, a double click selects a different one. A right click enables editing the name. Only the active model printed in yellow will be edited, pasted into, etc.

To create a single file from a set of armor files, you can copy models from one file and then paste it into another one. One at a time. Remember to first create a new model entry in the list view and select it before pasting the voxels into it.
The up/down arrow top right in the main editor (light blue here) switches between world and voxel editing. To move models relative to another switch to world mode and pull at the arrows of the current selection.

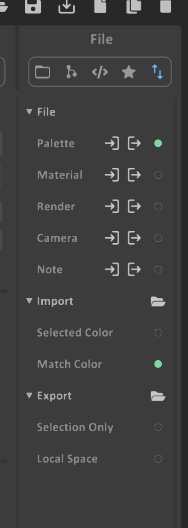
To cut down the size of the generated files we sadly can't use export with multiple models, but we can turn off the optional parts and save then:

Specifying the model index in the manifests
Again like in adding armor, you add an entry to
assets/voxygen/voxel/humanoid_armor_<armour type>_manifest.ron for each
of the armor parts:
#![allow(unused)]
fn main() {
"common.items.armor.mail.orichalcum.belt":(
    vox_spec: ("armor.mail.orichalcum", (-4.0, -3.5, 1.0), 2),
    color: None
),
}
The last (integral) number in the second line is the model index, if the number is absent, the first model in the file is used. Note that the first model in the file has the number zero.
And in assets\voxygen\item_image_manifest.ron:
#![allow(unused)]
fn main() {
Simple("common.items.armor.mail.orichalcum.belt"): VoxTrans(
    "voxel.armor.mail.orichalcum",
    (0.0, 0.0, 0.0), (-120.0, 210.0,15.0), 0.9, 2,
),
}
Again, the last (optional) number is the model index, starting from zero.